
With countless dev models like ChatGPT and Claude emerging, we're living in an era where AI is built right into IDEs to help with coding. I have no idea who'll win -- it feels like the Warring States period.
I'd been using VS Code for a while, then tried Cursor, which has a built-in AI assistant, and the development experience was so good that I'd love for you all to try it too. But for now, I found a way to keep coding without paying, so I want to share that. Think of it as a penny-pincher's approach.
Why use multiple IDEs?
Each IDE has a limit on how much you can use AI features for free.
Once you hit that limit, you switch to another IDE, use it until its limit, then switch again -- every month.
This policy might change, but the usage is pretty similar across IDEs and I think it's still valid, so I'm sharing it.
After using them for a while, I found that most services rarely reset usage monthly, so please use this approach as a way to test different products before subscribing to one.
How many IDEs like Cursor do you think exist? I found about 3-4.
There might be more, but I think 4 is enough since I can get by for about a month with just 2-3 IDEs. I signed up for each site or IDE using my GitHub account.
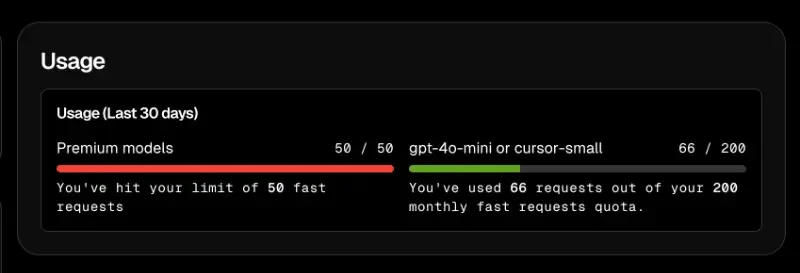
Cursor usage
Windsurf usage

Aide usage
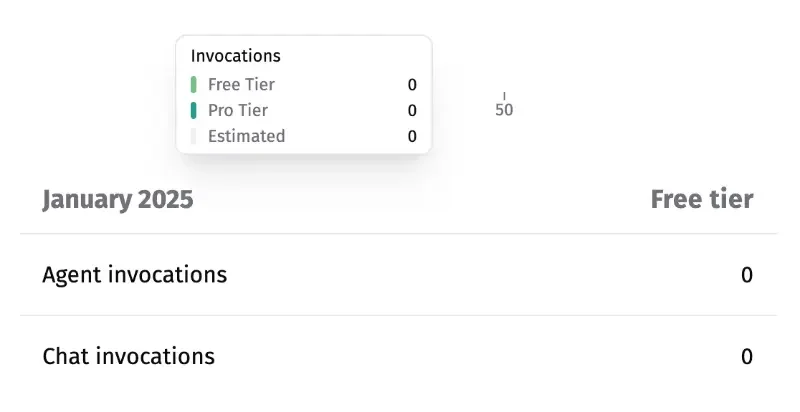
GitHub Copilot usage (I couldn't figure out where they show this)

Except for VS Code, all of them are IDEs forked from VS Code, so you can use the Profile feature to set up your environment more easily. That's what I'll walk you through.
Setting Up Your Dev Environment Using Profiles#
First, download and install the products you want on your development machine.
In my case, since everything except VS Code was recently installed, I chose VS Code as the base for my Profile contents. I think most of you will be in the same situation.
What I mean by contents is the settings, keyboard shortcuts, tasks, snippets, and extensions you've configured and installed in VS Code. From these, you'll pick what needs to be transferred and create a profile.
The reason for doing this is that configuring identical settings when you first open another IDE would be tedious.
Some IDEs support importing settings from VS Code, but others don't, so I'm creating a profile to apply the same environment everywhere.
For a more detailed explanation, check out Profiles in Visual Studio Code.
Saving a Profile#
-
In VS Code, click the Settings (gear icon) button at the bottom
-
Click the Profiles button

-
Click the more options button next to the profile you want to save
-
Click Export
-
Enter your desired name
-
Save to your preferred location (I saved as a Local file)

That's it for saving!
Importing a Profile#
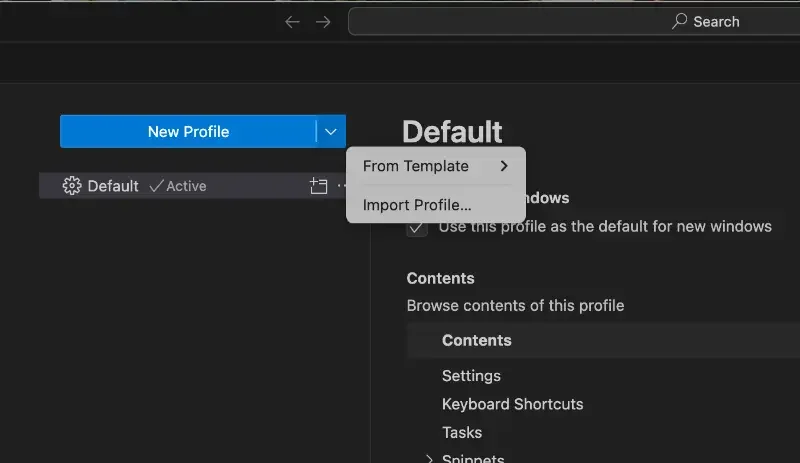
Now open each IDE, find the Profile menu, and click Import Profile to select the file.
Some IDEs might not show it in the menu, so open the command palette with cmd + shift + p, select Profile: New Profile, Cancel that profile, then do Import Profile.
After downloading various settings and extensions, the profile will be created.
Then for convenience, check Use this profile as the default for new windows under Use for New Windows.

Now you should be able to develop with AI in nearly identical environments across each IDE!
How to Develop with AI#
If you've used something like ChatGPT, the method is easy. Just chat in the IDE the same way you'd chat with ChatGPT. But since it's integrated with the IDE, there are a few extra helpful features. Broadly speaking, there's a Write mode where AI writes code directly for you, a Chat mode where you just have a conversation and write the code yourself, and an auto-completion mode that suggests what you're about to type as you code.
I think the biggest reason to use these IDEs is to find code improvements and issues through conversation, and to have AI handle simple repetitive tasks.
Setting Up Rules
This is how you set up pre-instructions for the AI to develop according to your project's needs.
I put the same content in each file. There might be ways to point them all to a single file, but for now this is what I'm doing.
If you're wondering what content to put in, I found matching rules for my project on a site called Cursor Rules.
I searched for the Flutter framework used in my project and copied it + added my own content (Clean architecture and Korean language usage).
Paths for Rules setup
GitHub Copilot: Create project-root/.github/copilot-instructions.md and write content
Cursor: Create project-root/.cursorrules and write content
Windsurf: Create project-root/.windsurfrules and write content
Aide: I checked the docs but couldn't find anything
Shortcuts to open the chat window
VS Code chat window: ctrl + cmd + I
Cursor chat window: cmd + shift + l
Windsurf chat window: cmd + shift + l, mode switch: cmd + .
Aide chat window: It's always open
Beyond these, there are various ways to chat with AI like referencing files or code lines, but please check the docs and other articles or videos for those!
I'll link each IDE's documentation below.
Useful links
Transformation doesn't take place with a vacuum; instead, it occurs when we are indirectly and directly connected to all those around us.
— Byron Pulsifer